The vignette nobody notices is the one that works
A bad vignette looks like a grey oval laid over a photograph. You notice the dark corners first and the subject second. A good vignette reverses that order: your eye reaches the subject a little faster, but the frame never announces how it helped.
That makes vignette strength unusually easy to misjudge. The control sits in the Film section of the Halation editor, yet its real job is composition. It does not add detail, repair exposure or make an image more cinematic by itself. It changes the relative importance of the centre and edges.
Darkening is not the point
Vision follows contrast. If the centre of a frame remains bright while the periphery becomes slightly quieter, centrally placed faces, windows and practical lights gain priority without changing their own pixels. The effect is relational: the subject feels clearer because competing edge detail has lost a little energy.
This only helps when the composition already has somewhere useful to look. A vignette centred on the frame can support a central subject or a loose cluster near it. It can work against a person standing close to an edge, and it cannot decide which of several bright objects matters. Crop and local adjustments solve those problems more honestly.
The centre is mathematically untouched
Halation applies vignette near the end of its five-pass renderer, after halation and diffusion and before grain. The shader measures each pixel's distance from the centre, corrected for the frame's aspect ratio. It then feeds that distance through a smooth curve that begins at 0.32 and finishes at 1.02.
Inside the 0.32 boundary, the mask is zero. The centre receives no exposure change
at all. Beyond it, the mask eases upward rather than drawing a hard circle. The
final operation is simply colour × (1 − strength × mask). A Vignette
value of 20 becomes a strength of 0.20, but only the mask decides how much of that
amount any particular pixel receives.
Aspect correction matters. On a 3:2 photograph the extreme corner reaches about 85% of the curve, while the midpoint of the long edge reaches about 58%. Nocturne's Vignette value of 34 therefore removes roughly 29% from a corner and 20% from the middle of the left and right edges. It does not subtract 34% from a broad ring.
The presets stop at 34 for a reason
Halation's eight looks reveal the intended working range. Komorebi uses 5, Bloom 10, Ember 12 and Golden 16. Silver moves to 22, Cinematic to 26, while Tide and Nocturne share the highest value at 34. The slider can reach 100, but none of the designed looks goes close.
Those numbers are not a universal law. They are evidence of what survives across different photographs. Five to sixteen is enough when the palette is airy or the corners contain skin and useful context. Twenty-two to thirty-four suits denser frames where deep edges already belong to the look. Above that, the tool quickly stops guiding and starts decorating.
The negative half of the slider brightens the edges instead. That can rescue a frame with natural lens falloff, but it can also push bright corners into the final output clamp. Use it as correction, not as an inverted spotlight.
How to set a vignette without seeing it
Start at zero and judge the photograph at its normal viewing size, not at 200% zoom. Raise Vignette until the centre feels easier to find. Then look directly at a corner. If you can trace the boundary of a dark oval, reduce the value until the boundary disappears. The change should be obvious when toggled, not while viewed.
- Portrait: begin around 5–12 and check hair, shoulders and hands near the edge before increasing it.
- Street or landscape: try 10–22, but preserve edge information that explains the place.
- Night exterior: 22–34 can contain bright signage and harbour lights, especially when the centre already carries the main practical light.
Recheck after changing exposure or crop. A brighter grade reduces the apparent effect, while deeper blacks can make the same number feel much stronger. Cropping changes which objects fall under the curve even though the curve itself stays centred.
Why it lands near the end
Applying the vignette after the glow passes means halation and diffusion are shaped into the final composition too. Grain comes next and measures the already-darkened result, so deep corners receive less midtone-weighted texture. These are small interactions, but they make the edge treatment feel like part of the finished frame rather than an overlay.
The practical rule is simpler than the shader: use the lowest value that makes the subject easier to find. The Vignette control should lose every argument about whether it is visible. Its success is the attention it redirects, not the darkness it adds.
Try it on a real photo
Start with Nocturne, open Film and move Vignette between 0 and 34. Watch the harbour lights near the edges, then reduce the value until the darkening stops calling attention to itself.
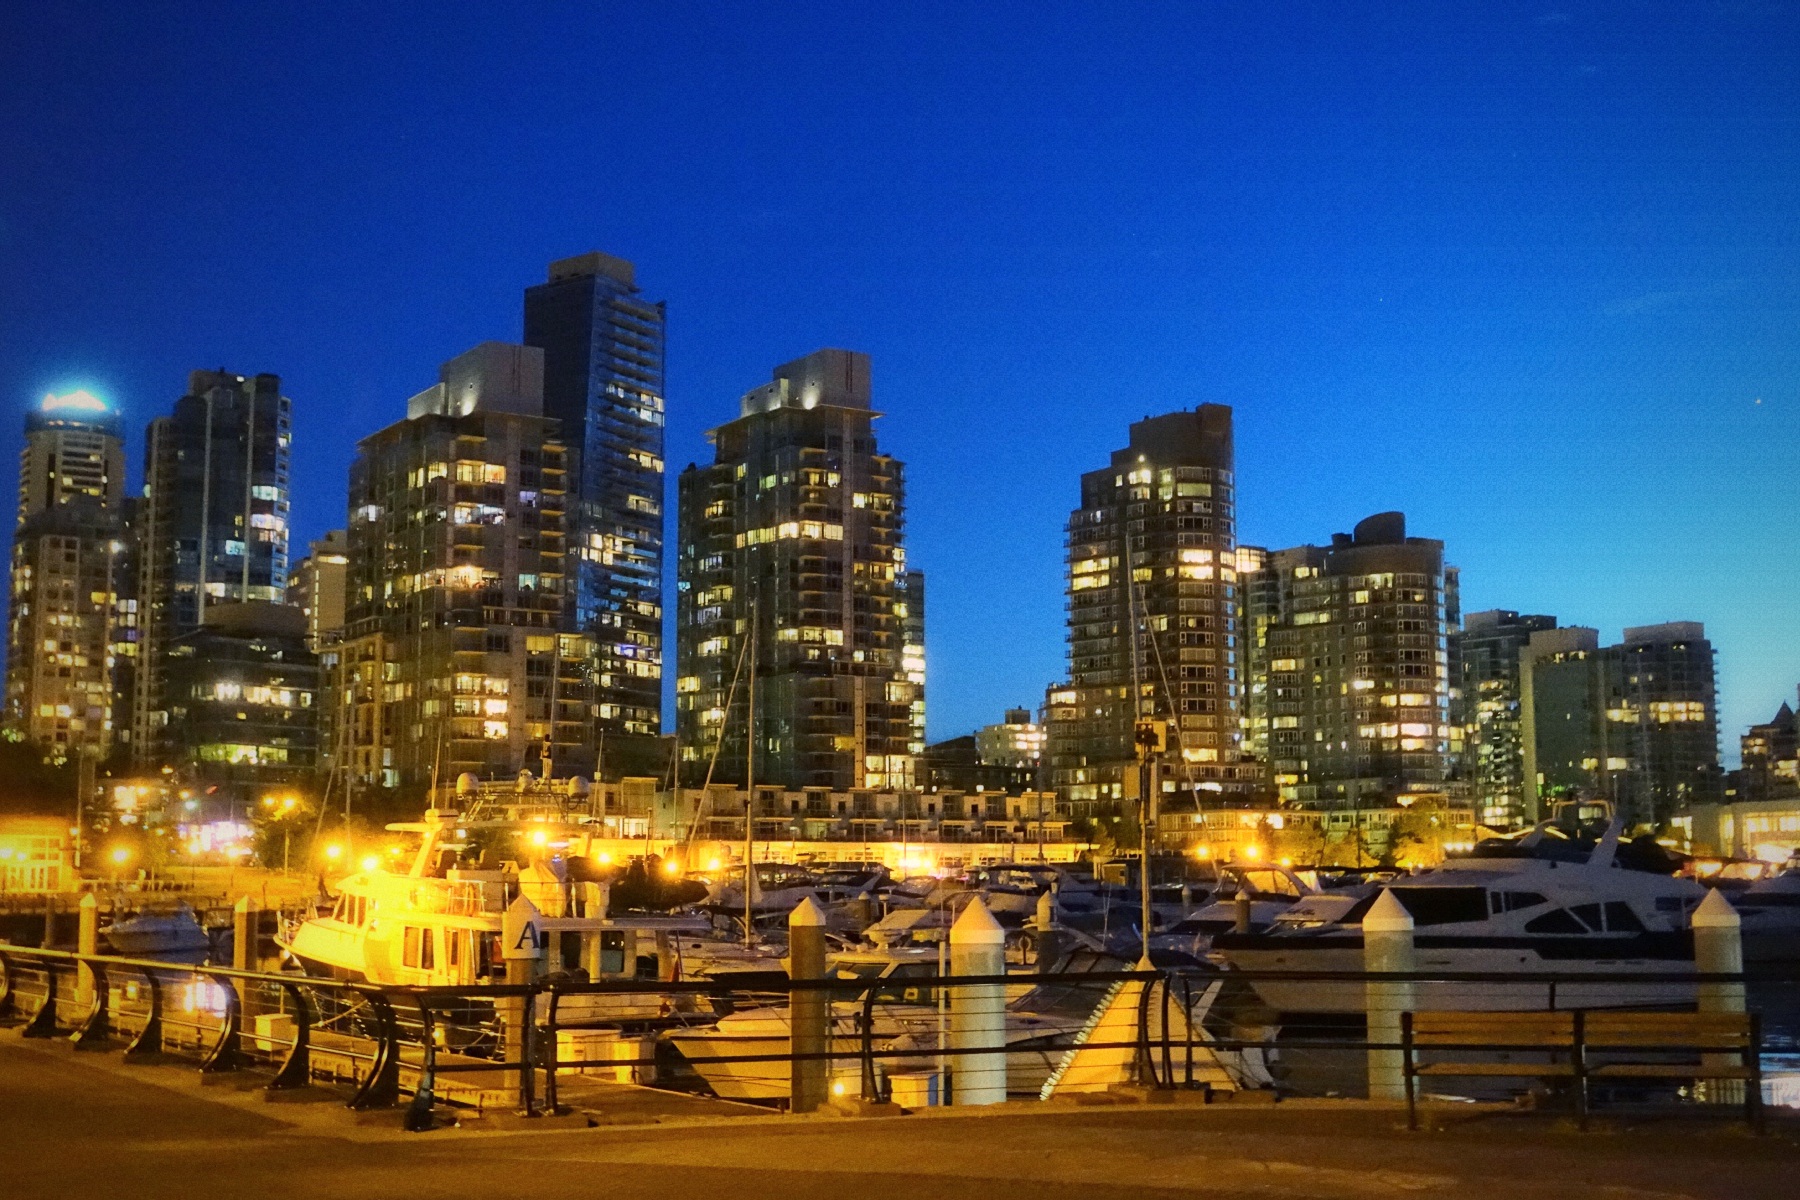
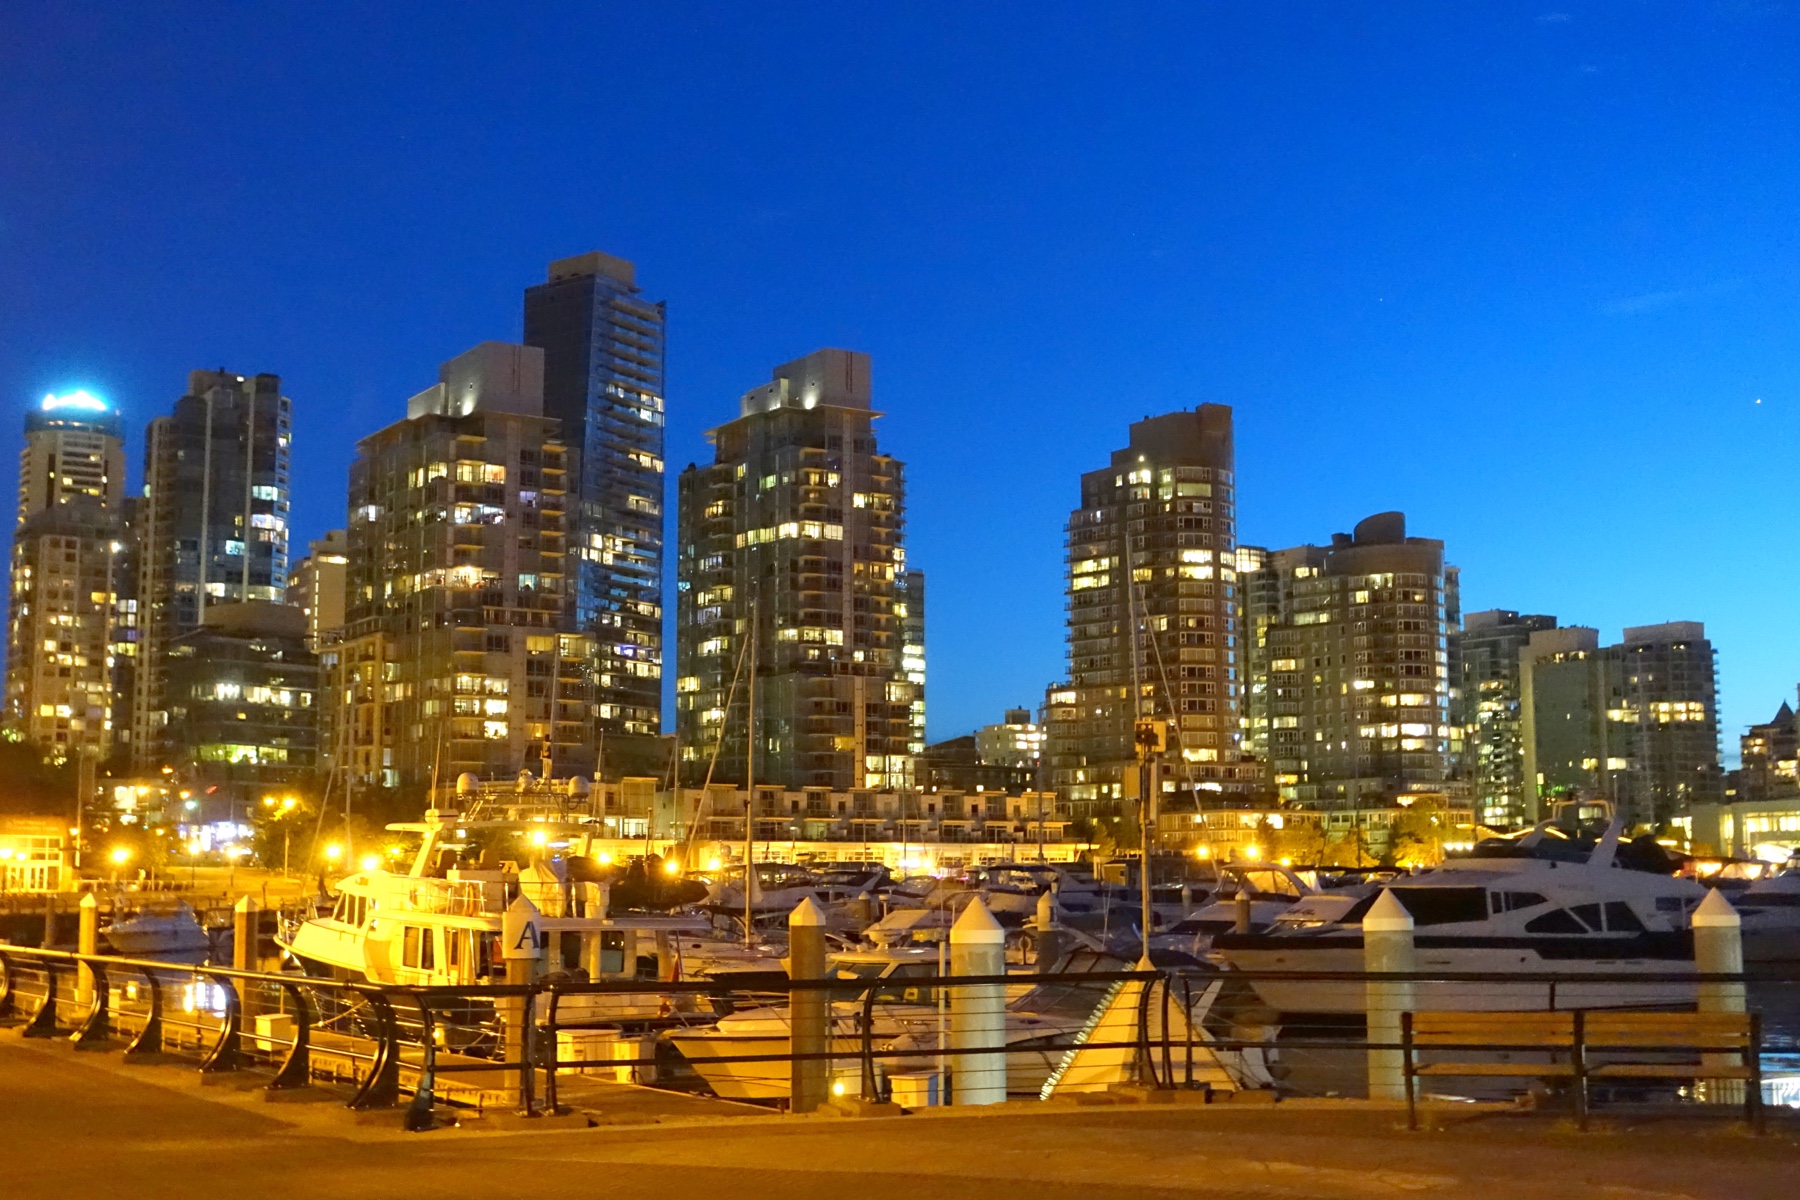 OriginalNocturne
Then choose Replace to use your own photo or clip. New here? Read the photo guide or video guide.