Diffusion is a filter, not a blur.
Every few months someone rediscovers that you can make a digital image look softer by blurring it slightly and layering the blur back over the original at low opacity. The result never quite works. It looks like a photograph slightly out of focus, or like a photograph with a smudge on it, and almost never like a photograph shot through a diffusion filter.
The reason is that a diffusion filter does not blur. It does something else, and the difference is worth understanding because it changes the implementation completely.
What the glass in front of the lens actually does
A diffusion filter — a Black Pro-Mist, a Glimmerglass, a smear of petroleum jelly on a clear filter if you are working the way people did in 1975 — is not frosted glass. Frosted glass would destroy the image. What these filters contain is a sparse scattering medium: tiny particles, or a fine irregular texture, suspended in or etched into an otherwise transparent element.
Most of the light passes through undisturbed. That is the important part. The image that reaches the sensor is still sharp, still fully resolved, still carrying every bit of edge detail the lens delivered. But a small percentage of the light — typically single-digit — gets scattered on the way through, and lands somewhere it was not supposed to.
Bright areas scatter more light in absolute terms than dark ones, simply because there is more light there to scatter. So the net effect is that highlights leak a faint, wide halo into their surroundings, while the underlying sharp image continues to sit on top of it, unaffected.
Sharp and soft at the same time
That combination is the entire trick, and it is genuinely counterintuitive: the image is sharp and soft simultaneously. Fine detail survives — you can still read the texture in fabric, the individual bricks, the eyelashes. What is lost is micro-contrast: the local difference between light and dark within a small neighbourhood, because every dark patch next to a bright one has been filled in a little.
A blur does the opposite. It destroys detail and preserves local contrast relationships. Which is why blur-based approaches read as a focus error: your eye checks whether the edges are resolved, finds that they are not, and concludes the photograph is soft. Diffusion never triggers that check, because the edges are exactly where they were.
Why a screen blend, and not a mix
In the Halation pipeline, diffusion arrives at the last pass and is applied like this: the blurred highlight layer is scaled by the diffusion amount and combined with the base image using a screen blend — the operator that takes two values, inverts both, multiplies them, and inverts the result.
Screen has a property that matters here. It can only ever brighten. Feed it a black pixel in the diffusion layer and the base comes through untouched; feed it a bright one and the base is pushed toward white, but never past it. That is the correct model for a physical process that adds stray light to the image and cannot subtract any.
A straight linear mix — the obvious implementation, and the one most tutorials reach for — averages the two layers instead. Averaging pulls bright regions down toward the blur's value as well as pulling dark ones up. That flattens the highlights, and flattened highlights are exactly what makes an image look hazy rather than diffused. The distinction between a lifted image and a washed-out one lives almost entirely in this choice of operator.
The one thing nobody expects
Diffusion in this tool shares its source layer with halation. Both effects read from the same blurred highlight extraction — the same threshold, the same blur radius, the same quarter-resolution buffer. They differ only in what happens afterwards: halation multiplies that layer by a warm colour and adds it, diffusion leaves it untinted and screens it.
The practical consequence is that the Threshold and Bleed radius sliders, which sit visually under the halation controls, also govern diffusion. Raise the threshold and both effects retreat to the brightest parts of the frame. Widen the radius and both spread further. If you have been adjusting diffusion and finding it stubbornly localised, the threshold is the control you actually want.
This is not a shortcut. Both artefacts genuinely originate in the same place — light from bright areas ending up where it should not — and giving them independent controls would imply a physical independence that does not exist.
How far the presets push it
Diffusion runs on a 0–100 scale and the presets use a wider spread than most other parameters:
- Silver — 8, and Nocturne — 10. Both are contrast-driven looks. Diffusion works against contrast, so it stays minimal.
- Cinematic — 12. Present, but yielding to the halation, which is the louder effect in that look.
- Golden and Ember — 22. Late-afternoon light is genuinely hazy; this is where diffusion starts doing narrative work rather than technical work.
- Komorebi and Tide — 26. The airiness of these looks is mostly this parameter.
- Bloom — 34, the highest. A portrait stock reference, where softening skin texture without softening the eyes is the entire objective.
Using it well
Diffusion is most valuable on images that already have a bright region worth bleeding — a window, a sky, a practical light, skin in direct sun. On an evenly lit scene it does very little, and pushing it until it does something produces the haze you were trying to avoid.
A reliable method: raise it until the image looks obviously soft, then halve it. Whatever survives that halving is the amount that was doing real work. The rest was fog.
Try it on a real photo
Start with Bloom. Open Film and bring Diffusion down to zero, then raise it again. The comparison below shows the whole preset; this one-slider experiment isolates diffusion.
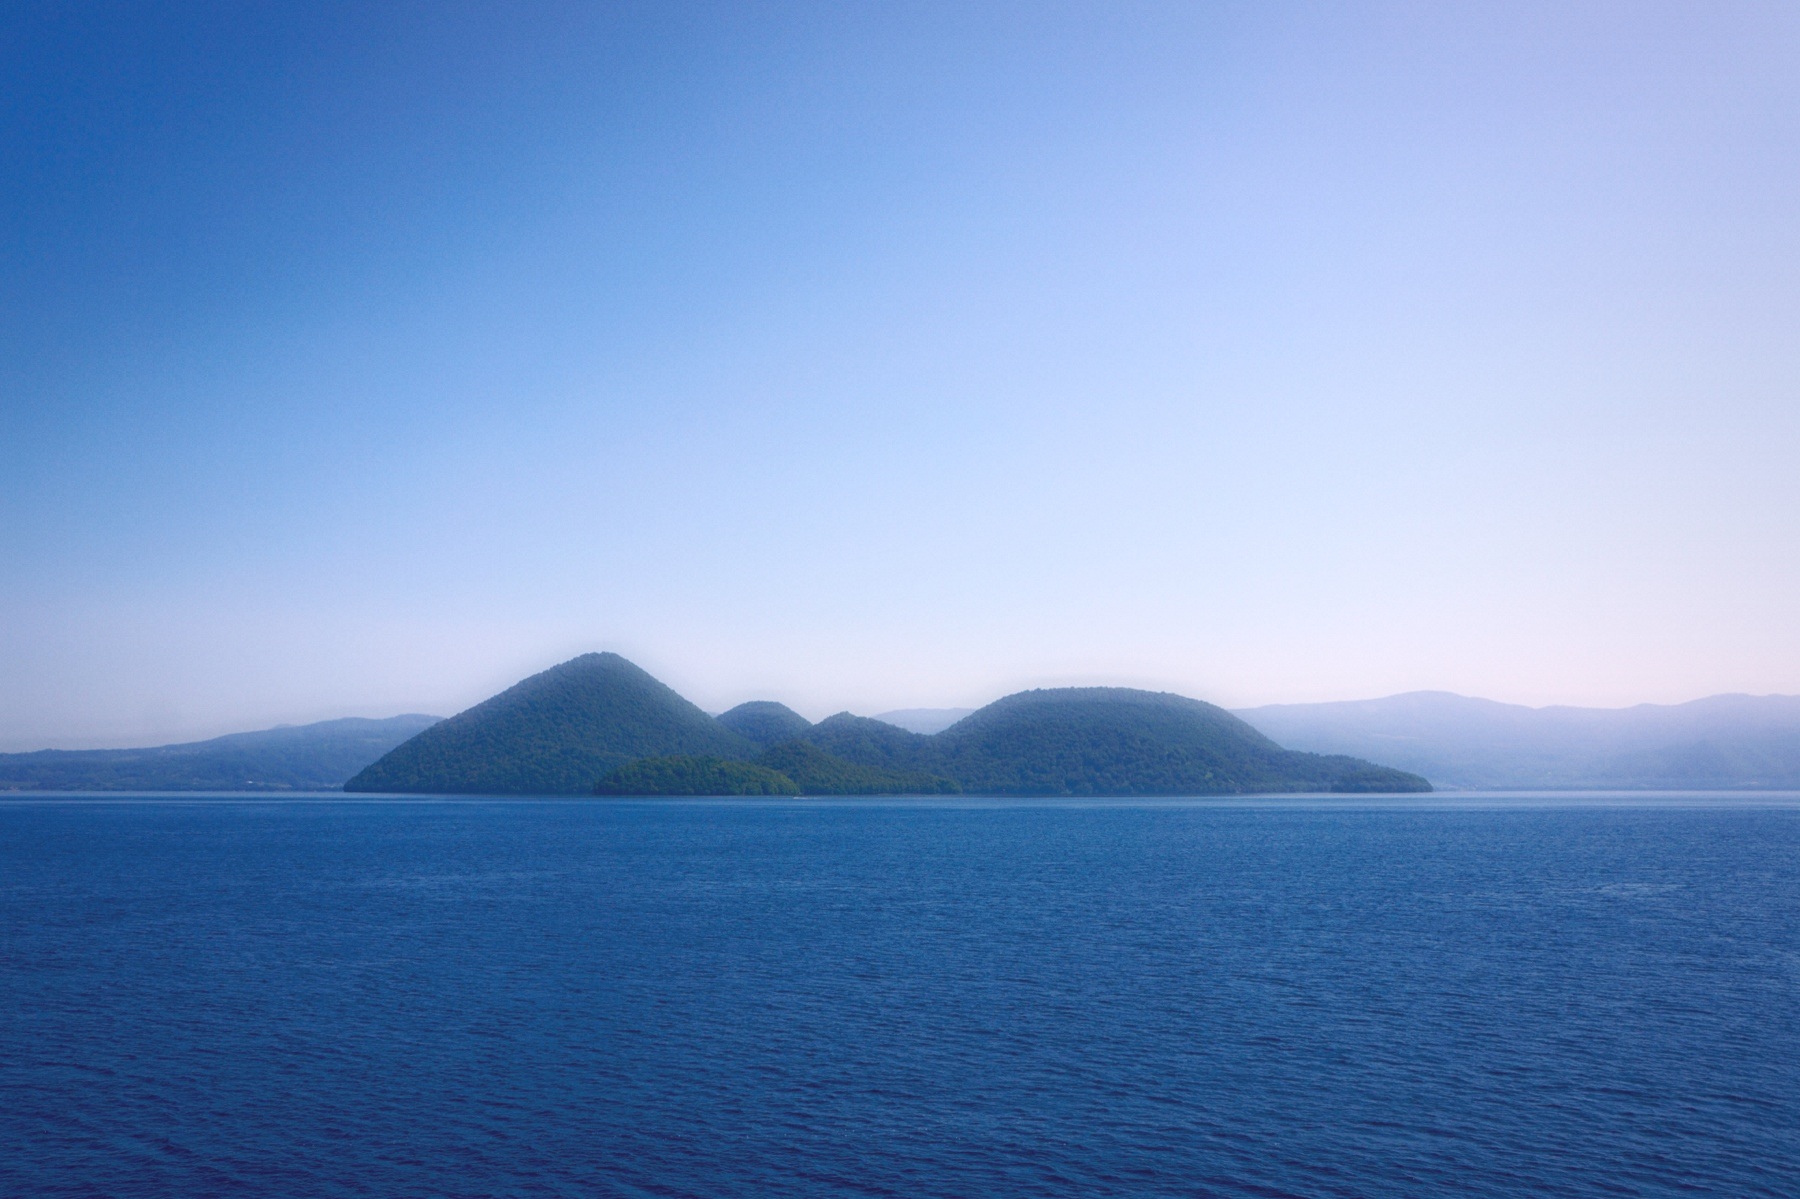
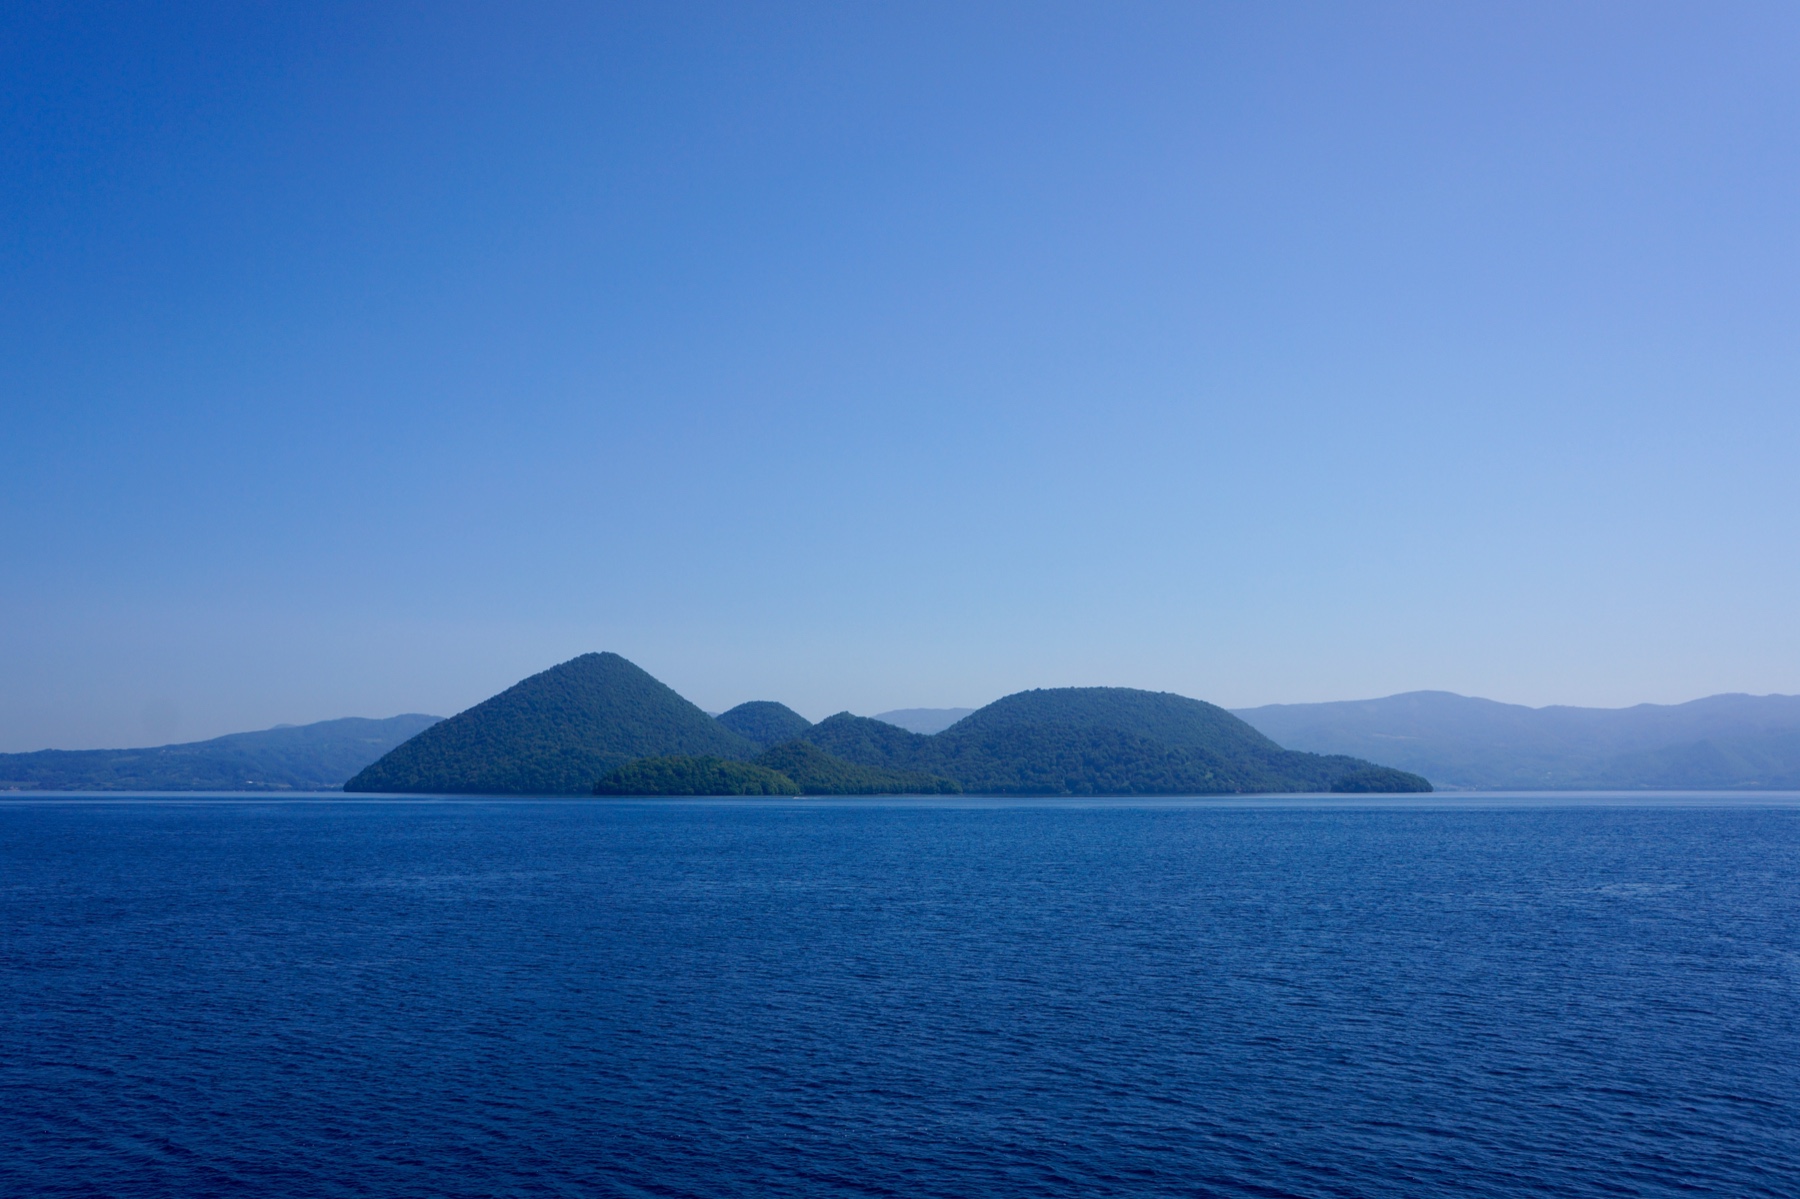 OriginalBloom
Then choose Replace to use your own photo or clip. New here? Read the photo guide or video guide.