Linear light is for physics, gamma is for taste
Move an exposure slider by one stop and the light should double. Multiply an ordinary image value by two, however, and a middle grey can jump straight to white. Both statements are arithmetic. Only one describes light.
The difference is the space in which the arithmetic happens. A JPEG normally stores gamma-encoded sRGB values, shaped to spend more code values where human vision notices differences. That is useful for display and editing, but those numbers are not proportional to scene light. Halation therefore uses two working spaces inside the same shader: linear light for operations that model energy, then gamma-encoded values for the controls that shape how the finished picture feels.
Why exposure must leave sRGB first
Halation starts by decoding each sRGB channel. Values at or below 0.04045 are
divided by 12.92; values above that point follow the standard 2.4-power curve.
Exposure is then applied as linear colour × 2stops. One
stop doubles the light, minus one stop halves it, and two stops multiply it by
four. The editor's range of −2 to +2 EV maps directly to that calculation.
A useful check is an sRGB channel value of 0.5. Decoding turns it into about 0.214 in linear light. Add one stop and it becomes 0.428; encode it again and the displayed value is about 0.686. Multiplying the encoded 0.5 by two would produce 1.0 instead. That is not a brighter middle grey. It is clipped white.
White balance is channel gain, not a colour overlay
Temperature and tint stay in the linear section because Halation implements them as gains on red, green and blue. Positive temperature raises red by as much as 30% and lowers blue by the same amount. Positive tint reduces green by as much as 20%, while adding up to 7% to red and blue. The three gains multiply the decoded light values before the result is converted back to sRGB.
This is a compact creative white-balance model, not camera calibration or a full chromatic-adaptation transform. It does not know the source illuminant, sensor or colour chart. Its virtue is predictable control: warmth changes opposing channels rather than laying an orange veil over the picture.
The Golden preset makes the sequence concrete. Exposure +12 means +0.12 EV, a linear multiplier of about 1.0867. Temperature +30 and Tint +5 produce RGB gains of roughly 1.0938, 0.9900 and 0.9132. Combined with exposure, the initial channel multipliers are about 1.1887, 1.0759 and 0.9924. Only after those energy-like operations does Golden begin its tonal and stylistic work.
The handoff back to perception
Halation encodes the result with the inverse sRGB curve and clamps it to the 0–1 display range. Everything that follows sees that gamma-encoded image: highlight and shadow masks, whites and blacks, the contrast curve, fade, the eight-channel colour mixer, split toning, vibrance and saturation, and monochrome mixing. The later glow, vignette and grain passes also receive the graded, encoded result.
That is a deliberate aesthetic boundary. Positive contrast uses an S-curve on displayed values, while negative contrast pulls them toward a visible middle grey of 0.5. Highlight and shadow masks are built from the picture viewers actually see. These controls are not trying to estimate photons. They are trying to make a slider feel even, local and useful while you judge an image on a screen.
The boundary has a cost. Because the linear result is encoded and clamped before tone shaping, an aggressive exposure or channel gain can discard highlight detail that a later Highlights adjustment cannot recover. Halation is an SDR creative grader, not a raw developer. Set exposure before asking the tone controls to refine what remains.
A practical order for the sliders
Work in the same order as the renderer. First set Exposure so the subject sits in a useful brightness range. Next correct Temperature and Tint while neutral objects still give you a trustworthy reference. Then shape Highlights, Shadows, Whites, Blacks and Contrast. Add Fade, colour adjustments and split tones only after the light and balance are stable.
- If highlights are clipped: lower Exposure first. Highlights can reshape encoded values, but it cannot restore information already clamped.
- If the image feels warm everywhere: fix Temperature before chasing individual hues in the colour mixer.
- If the grade feels flat: decide whether it lacks physical brightness or visible contrast. Those are different controls in different spaces.
This division is not a rule for every colour engine. A scene-referred HDR workflow may keep far more of its pipeline linear or use another perceptual space entirely. It is the rule for this browser tool: do the small amount of light arithmetic where the numbers mean light, then cross back to the space where photographic taste is easiest to judge. The full five-pass outline is on the About page, and the related tone choice is explored in Lifted blacks.
Try the handoff on a real photo
Open Golden, then reset Contrast and the tone controls to zero. Move Exposure, Temperature and Tint first. Add the preset's Contrast +8, Highlights −14 and Shadows +16 afterwards, and watch how the second group shapes the already-balanced image.
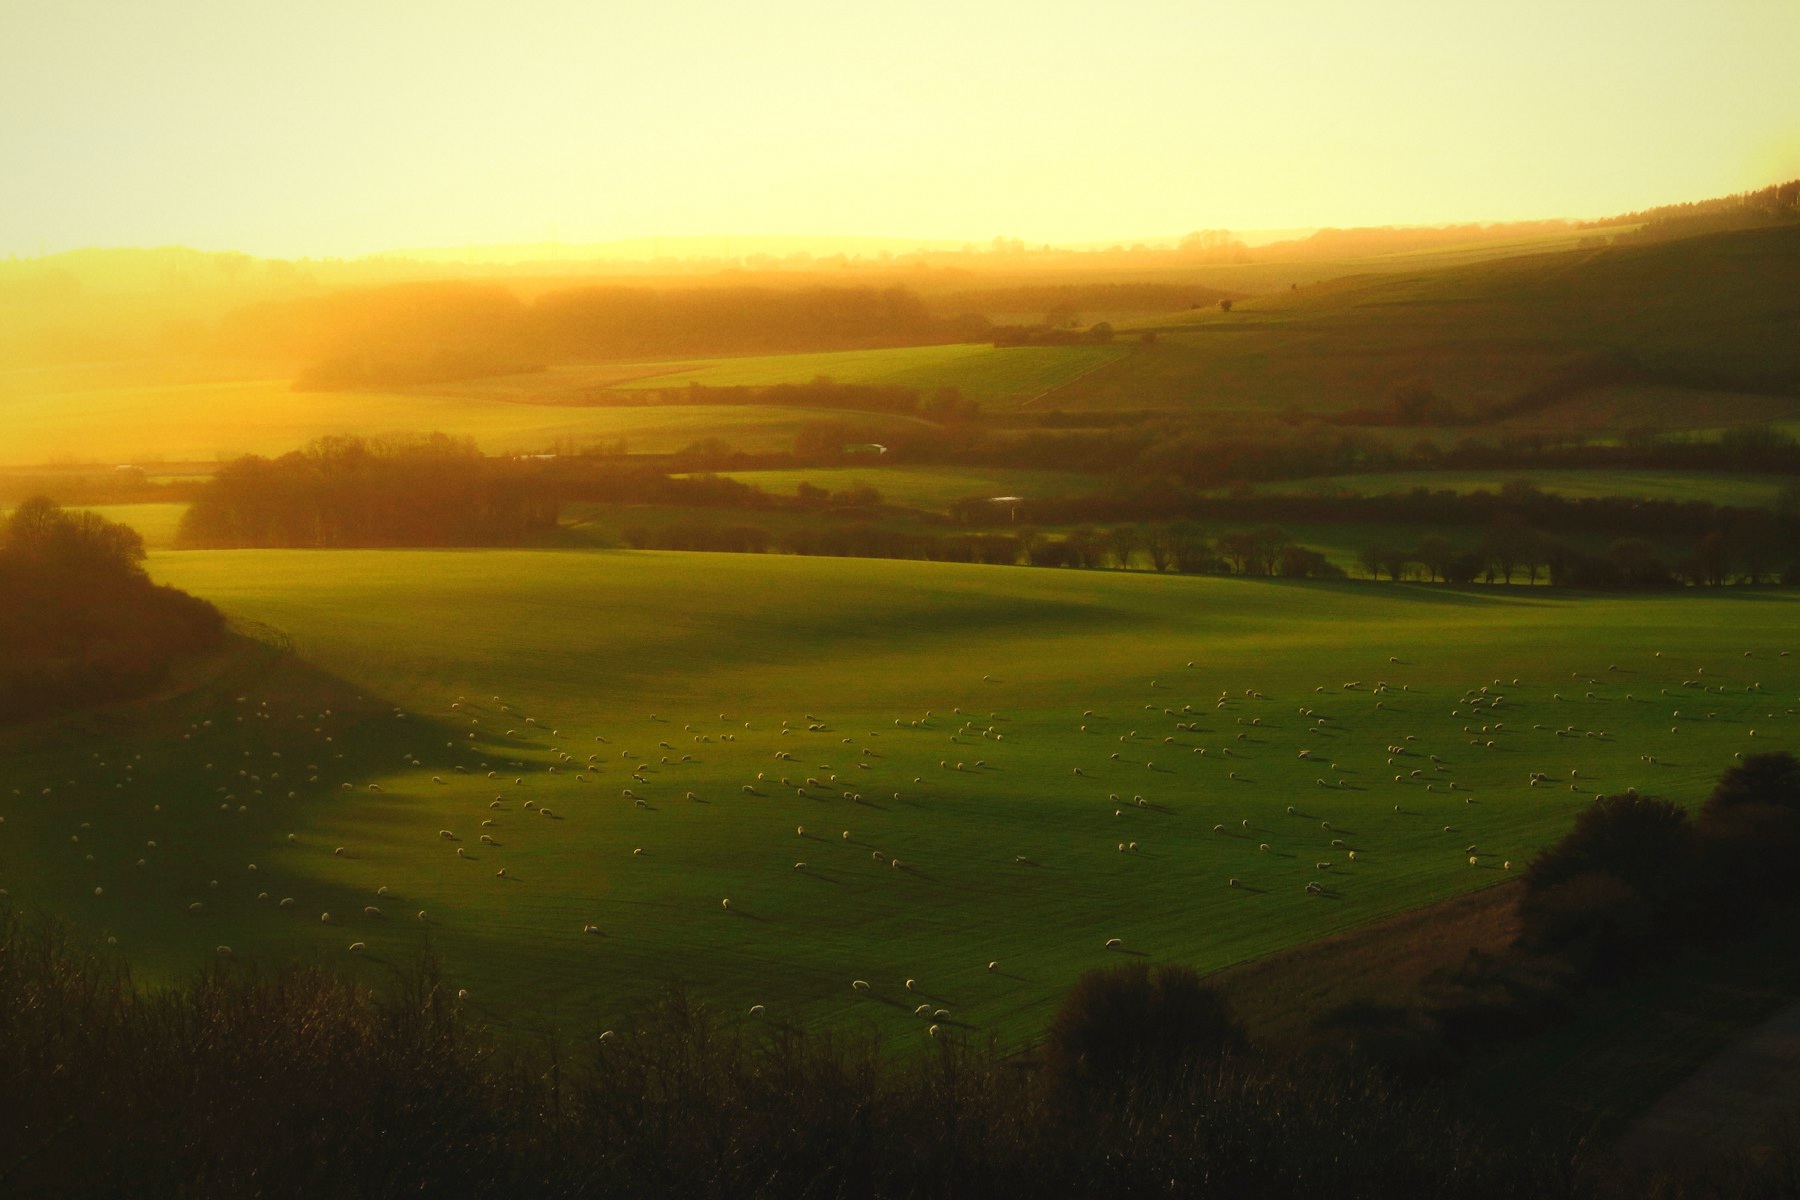
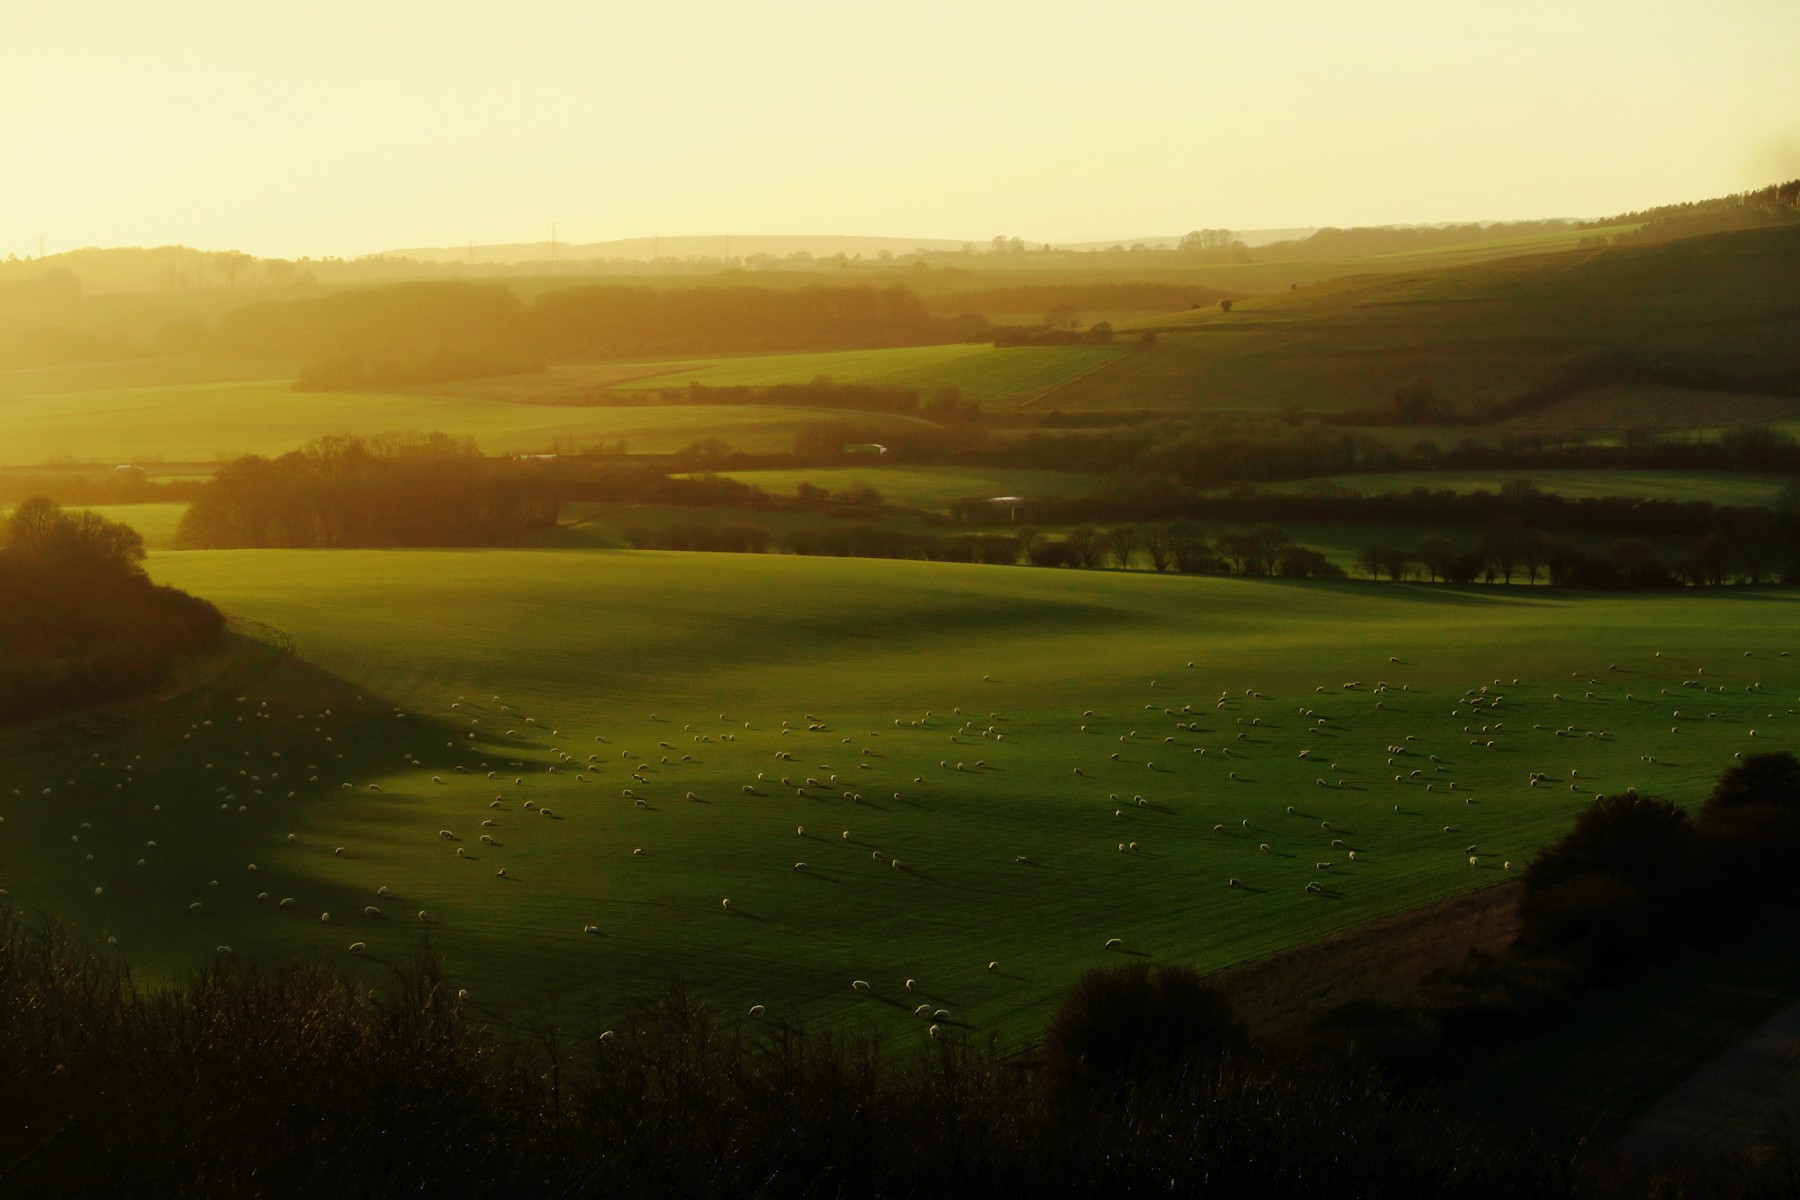 OriginalGolden
Then choose Replace to use your own photo or clip. New here? Read the photo guide or video guide.